
You put in hours of hard work completing a puzzle, why not save your work? When you frame a puzzle, you get just as much satisfaction from preserving your project as you got from completing it.
You might be cherishing a family memory or creating a gift for someone special. Either way, framing a puzzle keeps the design intact and display-worthy. Whether you’re a child, a parent, or a collector, you can have a blast turning your puzzles into art – all the while teaching kids the value of patience, perseverance, and creativity.
When you’re ready to start framing a puzzle, this step-by-step guide will help you make sure it looks professional. You’ll also find tips and suggestions for turning puzzle framing into an engaging educational activity that lets kids create a keepsake for the home.

Why Frame a Puzzle?
Puzzles can be so much more than just a way to pass the time. Putting them together improves problem-solving skills, hand-eye coordination, and critical thinking.
By framing a puzzle, you preserve those memories, and you celebrate all the effort that went into completing it. A framed puzzle can serve as a focal point in your home as a fun activity transforms into a long-lasting work of art.


There are many reasons to frame a puzzle, such as:
- You allow for puzzle preservation. You’ll avoid lost pieces and prevent the puzzle from coming apart over time. By framing a puzzle, you make sure it stays intact over the years.
- Preserve the puzzle for sentimental reasons. Favorite puzzles often hold emotional significance. Perhaps they were completed during a family gathering or in celebration of a special event.
- Completed puzzles can have educational value. By showcasing puzzles, you can teach kids about shapes, colors, animals, or geography. The framed puzzle will be a visual reminder of their lessons.
- Puzzles make unique decor. You can add this personalized artwork to playrooms, family areas, or children' s bedrooms. Framed colors are great conversation starters that can reflect your family’s hobbies and interests.
What You’ll Need
Before you start framing your puzzle, you’ll want to gather all the materials you’ll need. When you have everything ready in advance, the process will be more smooth and fun. This is especially true if your kids want to help. In fact, involving children in the preparation gives them a chance to learn more about organization.
Here’s what you need to have on hand when framing a puzzle:
- A completed puzzle
- Puzzle glue or adhesive sheets
- A large piece of cardboard or foam board
- A frame that fits your puzzle’s dimensions
- A rolling pin or similar tool to flatten the puzzle
- Scissors or a utility knife
- A clean workspace
How to Frame a Puzzle
Ready to start framing a puzzle? After you’ve gathered all your materials, you can frame a puzzle like a pro in just a few simple steps. When you encourage your kids to participate in the framing process, the end result will be all the more enjoyable and meaningful.
1. Prepare Your Puzzle
First and foremost, make sure the puzzle is completely finished. Make sure you double-check there are no missing pieces. Also make sure the surface is clean and smooth.
Flatten your puzzle using a rolling pin. You’ll be able to remove any air gaps that might be caught between pieces. Don’t skip this step – it’s important if you want to achieve a professional-looking result. If any puzzle pieces feel loose, gently press them into place before you move on to the next step.
2. Apply Puzzle Glue or Adhesive Sheets
Once you’ve prepared your puzzle, spread puzzle glue over it entirely. Focus on the seams where the pieces connect. Make sure you use enough glue to secure all the pieces, but try and avoid over-applying it since that will create uneven spots. Let the glue dry completely. That usually takes a few hours.
For a cleaner alternative to puzzle glue, try adhesive sheets. They also eliminate the drying time – perfect for kids and parents who tend to be impatient. Plus, adhesive sheets are easier for kids to handle, so they’re a great choice for family projects.
3. Back the Puzzle
Now place the glued puzzles on a piece of cardboard or foam board. The backing gives the puzzle stability. It also helps make sure the puzzle doesn’t bend or warp inside its frame.
Use scissors or a utility knife to trim the edges of the board so it matches the puzzle’s dimensions. If you’re working with kids, carefully monitor this step. Particularly large puzzles might need a sturdier foam board for extra support.
4. Choose the Right Frame
Selecting the perfect frame is an important step in the process. Carefully measure your completed puzzle so you can find a frame that fits it perfectly.
Frames with glass or plexiglass are perfect for puzzles because they protect the artwork from dust, moisture, and wear.
You’ll want to choose a frame color and style that complements the puzzle’s design. A wooden frame, for example, might be perfect for a nature-themed puzzle, but a sleek black frame is more fitting for modern designs.
5. Insert the Puzzle into the Frame
It’s now time to place the puzzle into the frame. Proceed carefully, and make sure the puzzle lies flat and securely. If the puzzle doesn’t perfectly fit the frame, you’ll want to consider using spacers or a custom mat to fill in the gaps. Double-check that you’ve straightened and centered the puzzle before you seal the frame. That kind of attention to detail will make a big difference when it comes to your final result.
6. Display Your Masterpiece
Ready to show off your hard work? After you’ve framed your puzzle, decide where you want to display it. Excellent choices include playrooms, family areas, and kids’ bedrooms. You might consider placing the framed puzzle in a place where it inspires conversations, or where it serves as a reminder of all the fun you had putting it together

Tips for a Fun Framing Activity with Kids
You can create a meaningful experience with your kids by involving them in the puzzle-framing process. It’s a chance to teach children about art, design, and preservation. Plus, kids love feeling involved in creating something they can proudly display for years to come.
What are some ways to turn puzzle framing into a learning opportunity? Talk about colors and patterns with your kids as you work on framing. You can explain how the puzzle design influenced your choice of frame. Or, you can let them help you select the frame and choose where to display the finished piece.
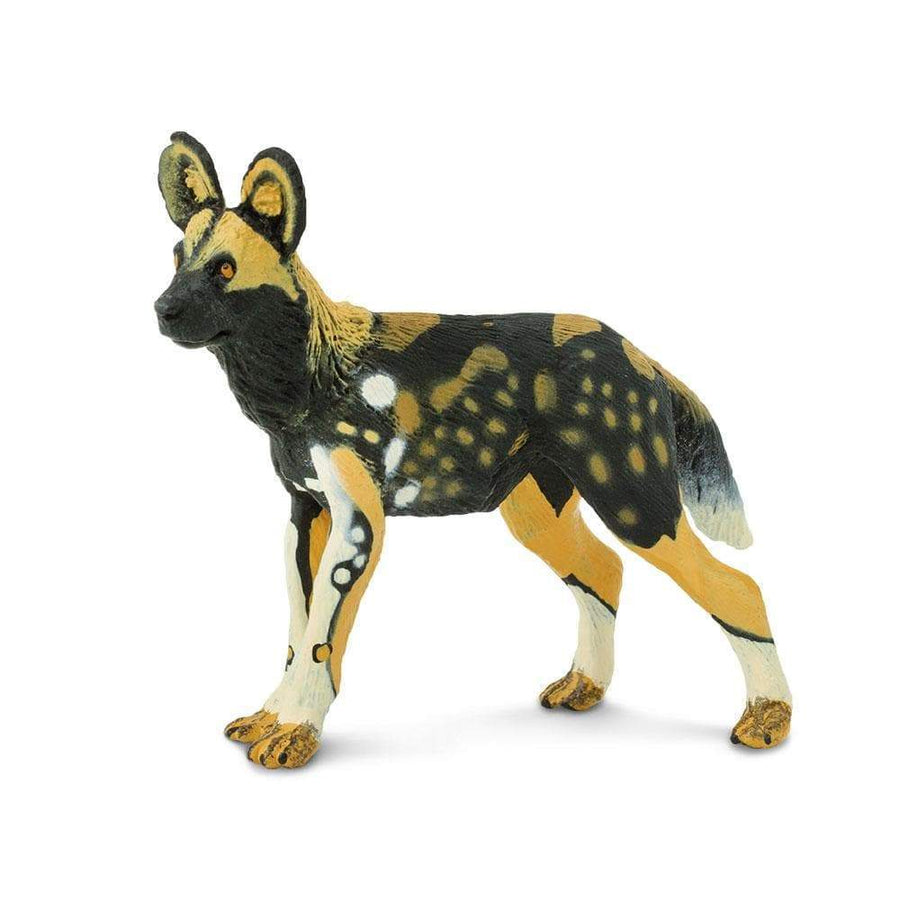
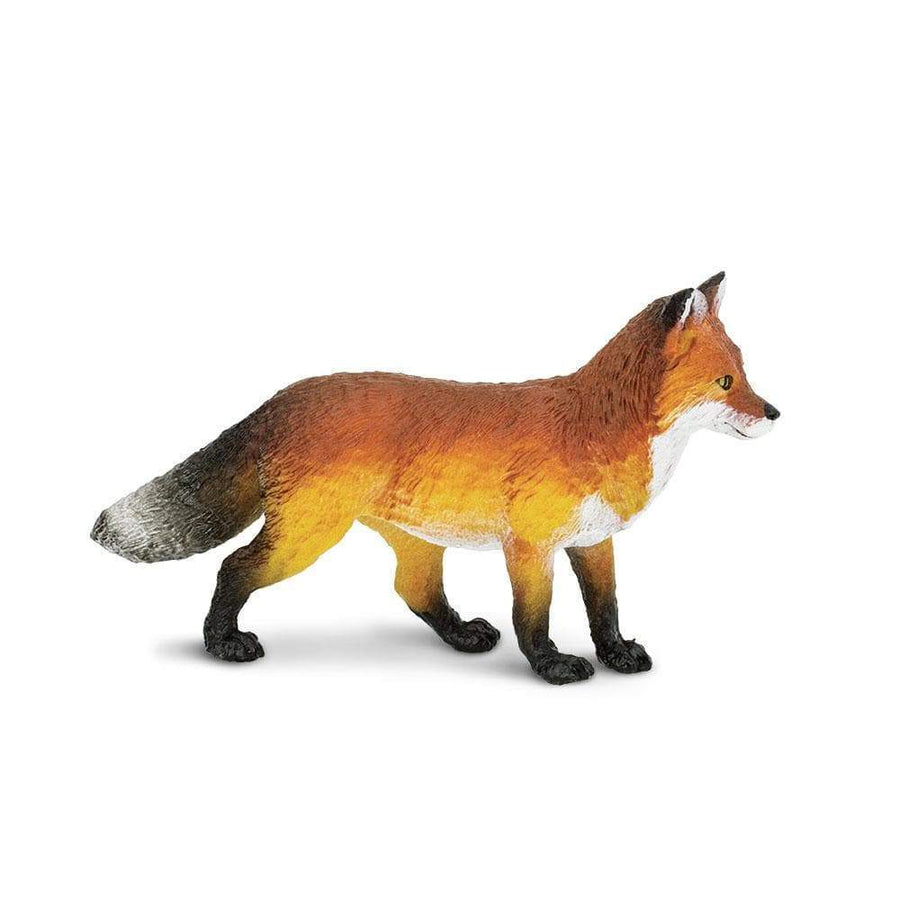
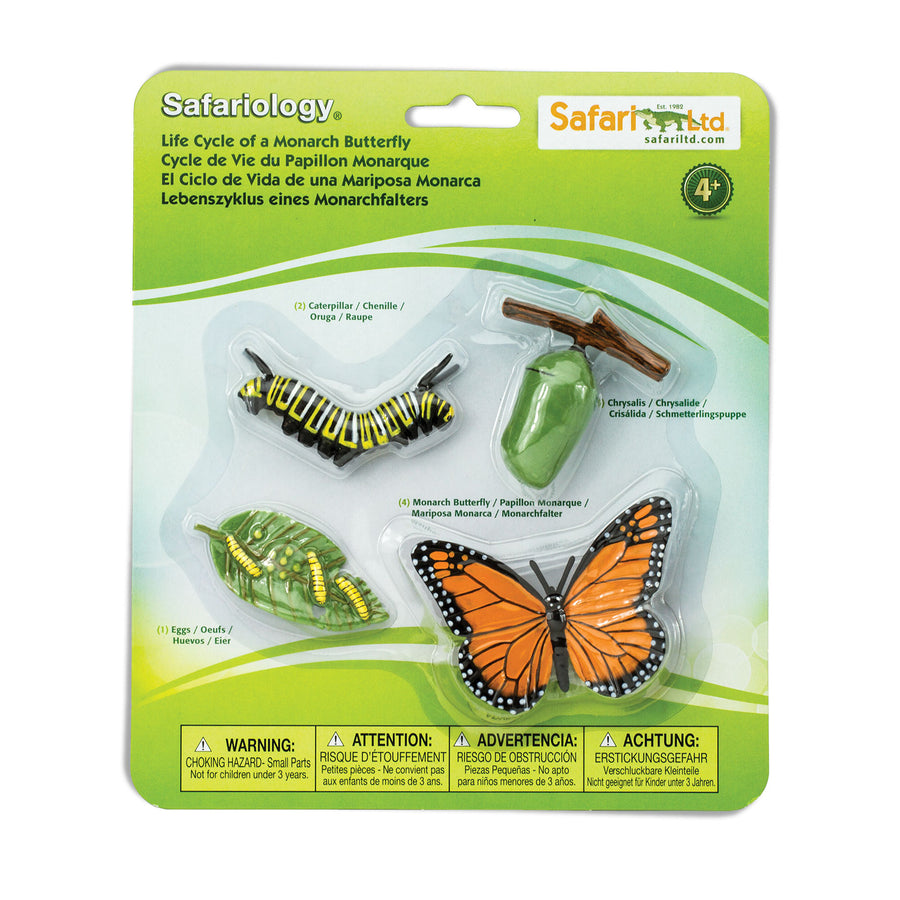
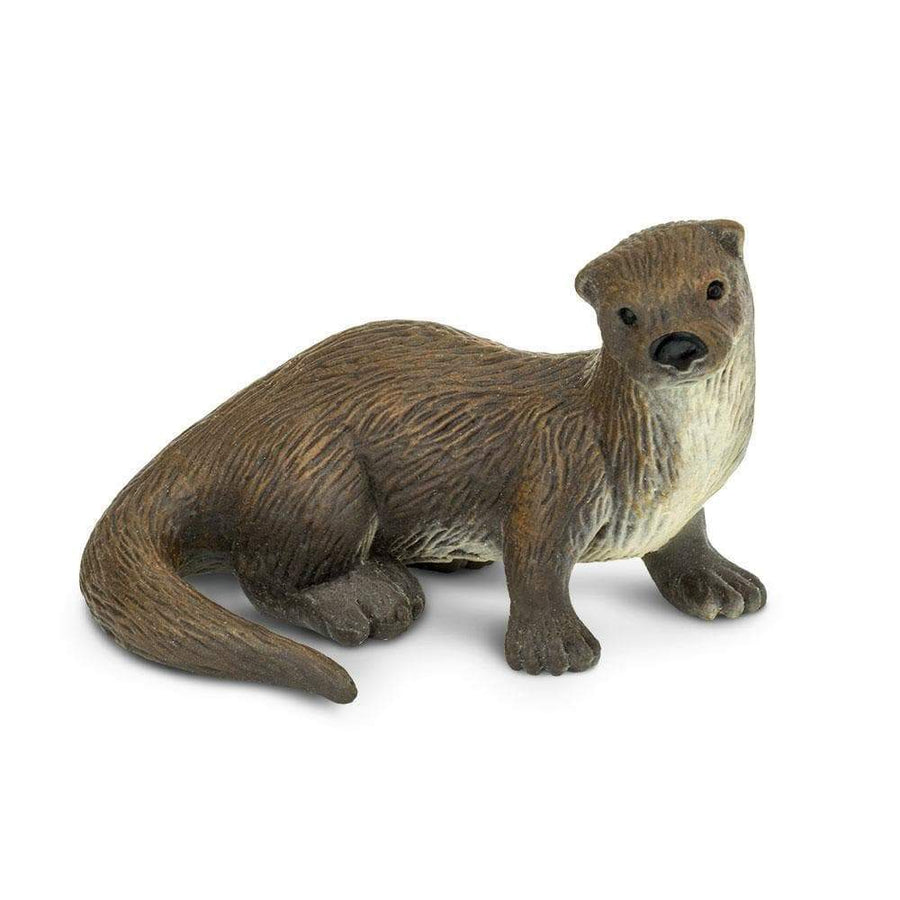
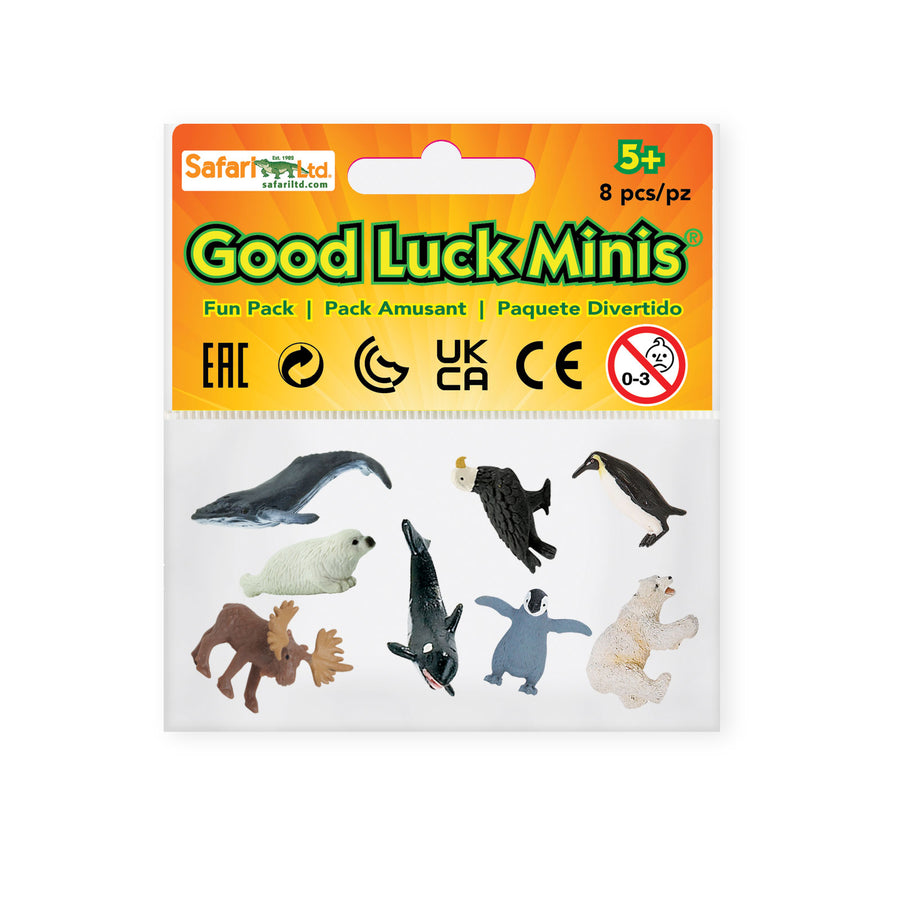
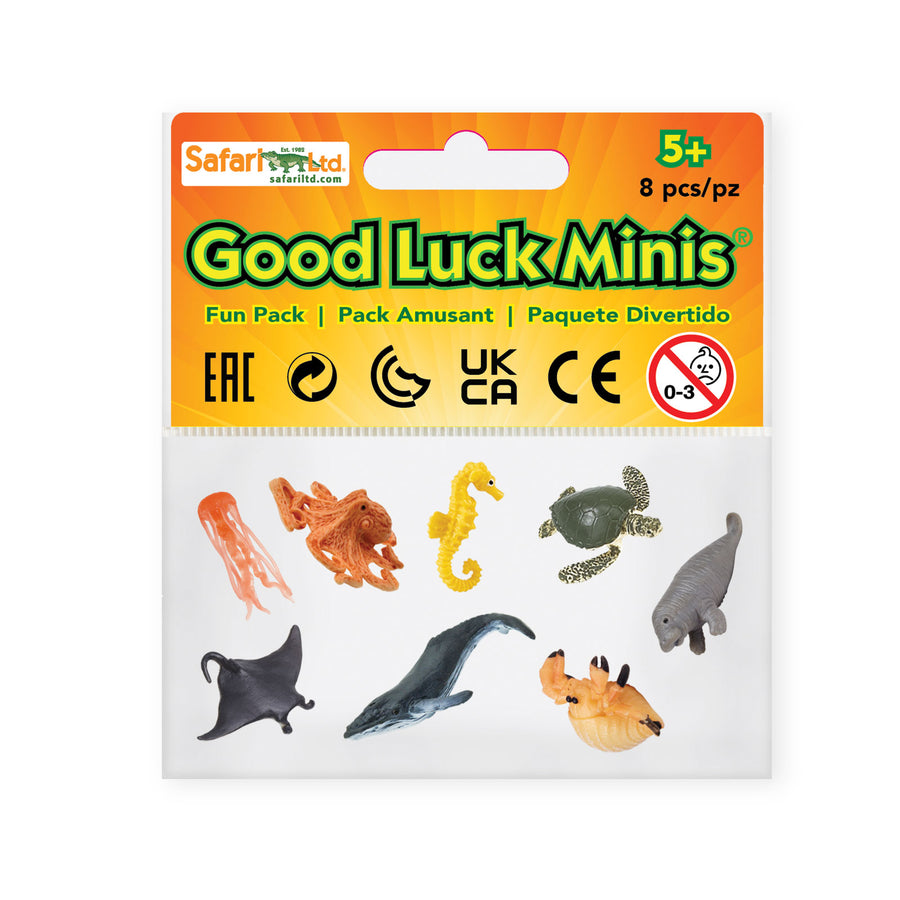
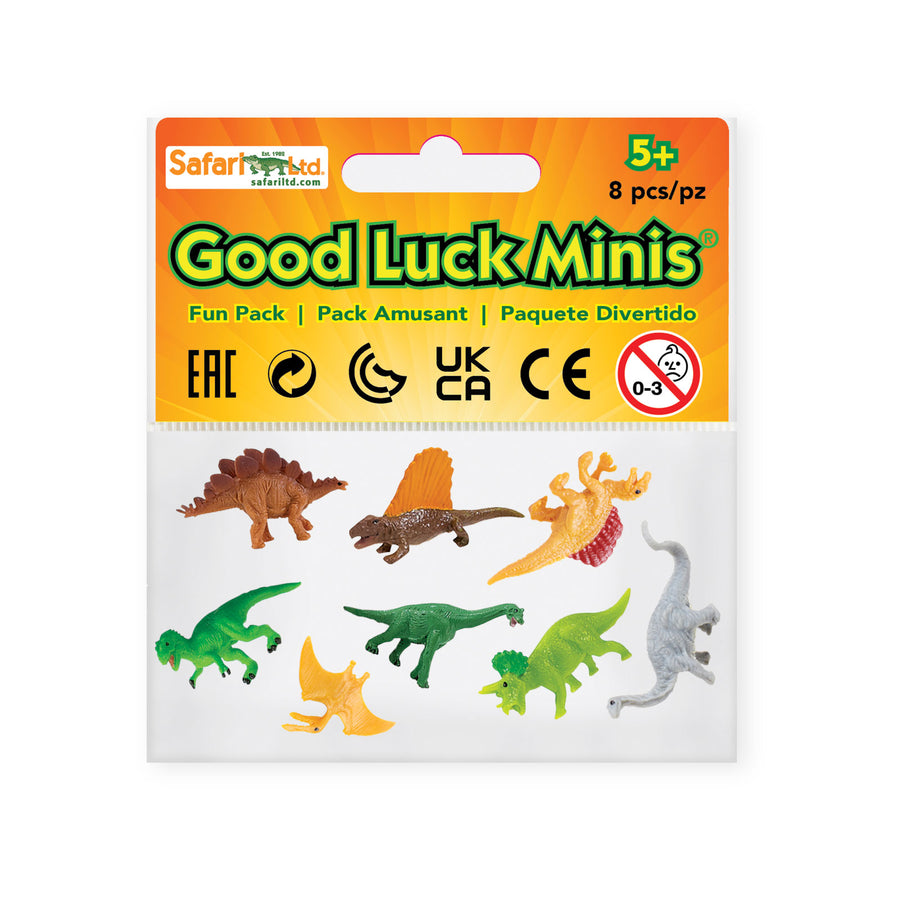
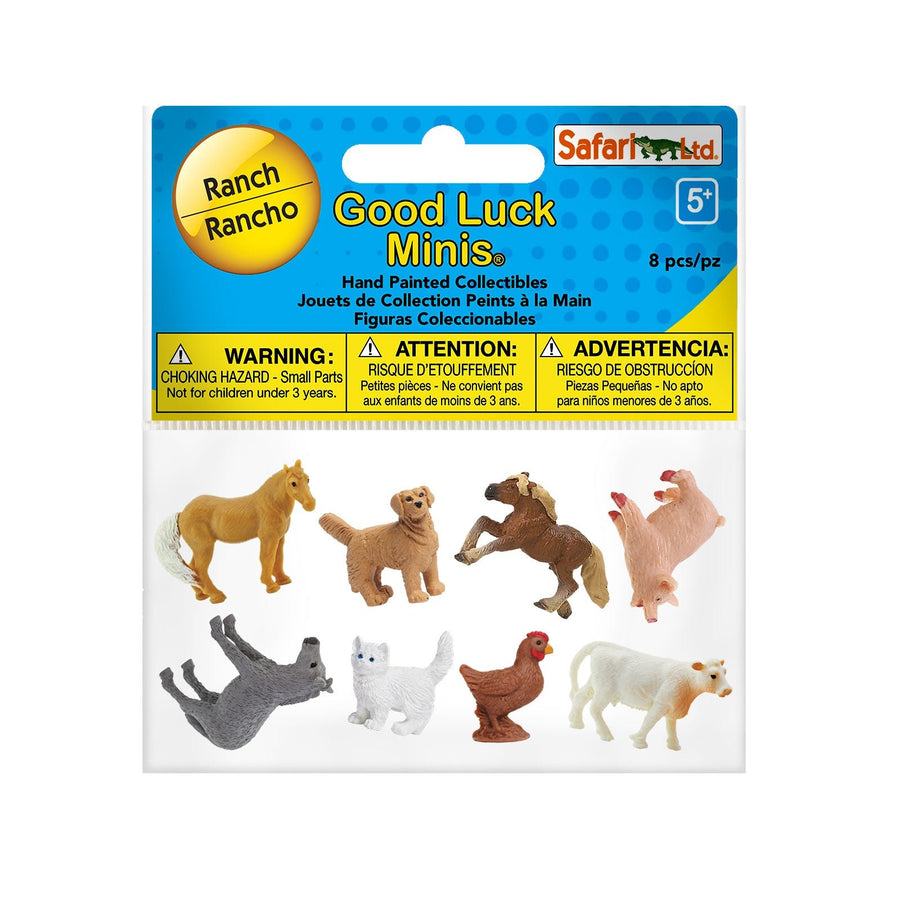
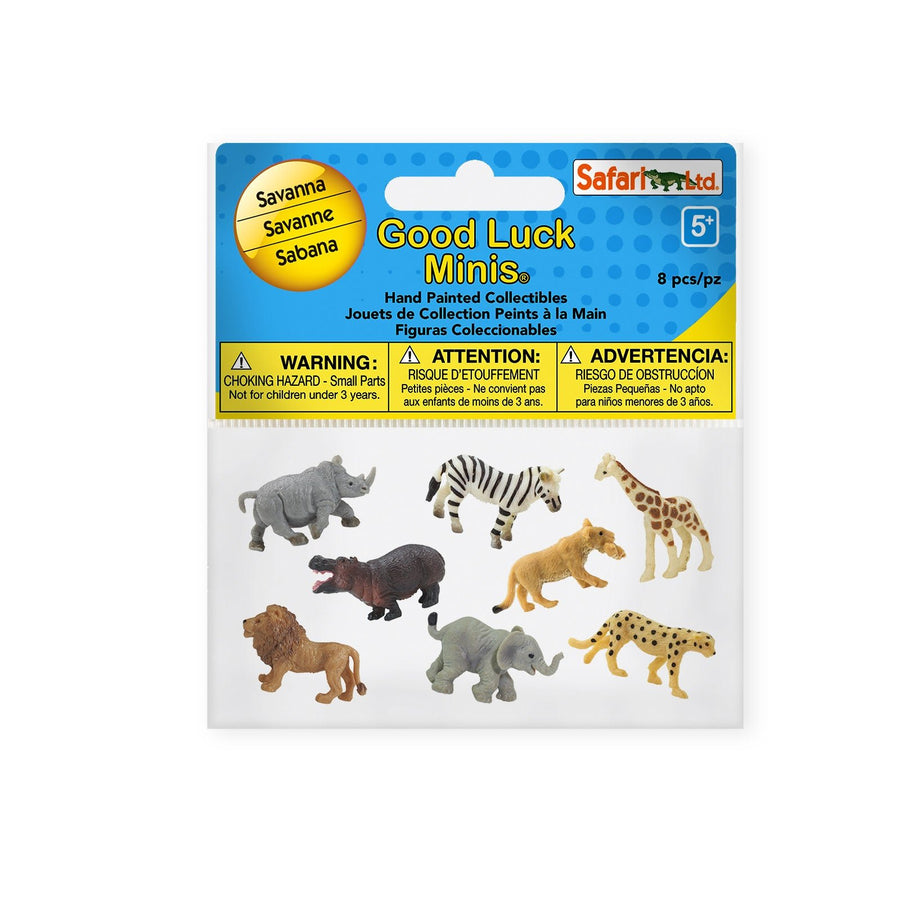
For an even more engaging experience, pair the framed puzzle with kids’ favorite collectible figurines. Safari Ltd. offers some great options, including its figurines collection and Good Luck Minis.


Involving your kids when framing a puzzle lets you engage their young minds and strengthen their connection to a work of art. It’s such a creative way to combine learning with play all while kids develop valuable life skills like focus and collaboration.


Creative Ideas for Framed Puzzles
Don’t think a framed puzzle is just another picture on the wall. There are so many ways to display them, you can really get creative. To give a boost to your own imagination, consider and expand upon these ideas:
- Incorporate the framed puzzle into a gallery wall. You can mix framed puzzles with other art pieces to create a playful and personalized display.
- Framed puzzles can be learning tools. When you display puzzles focused on geography, animals, or historical events, you create ongoing learning opportunities for your kid. The visual aids will reinforce the lessons kids get from books and educational toys.
- Don’t think framed puzzles have to be static in your home. Regularly rotate themes by swapping out seasonal framed puzzles or switching them based on your child’s changing interests. You’ll help your decor stay fresh and exciting.
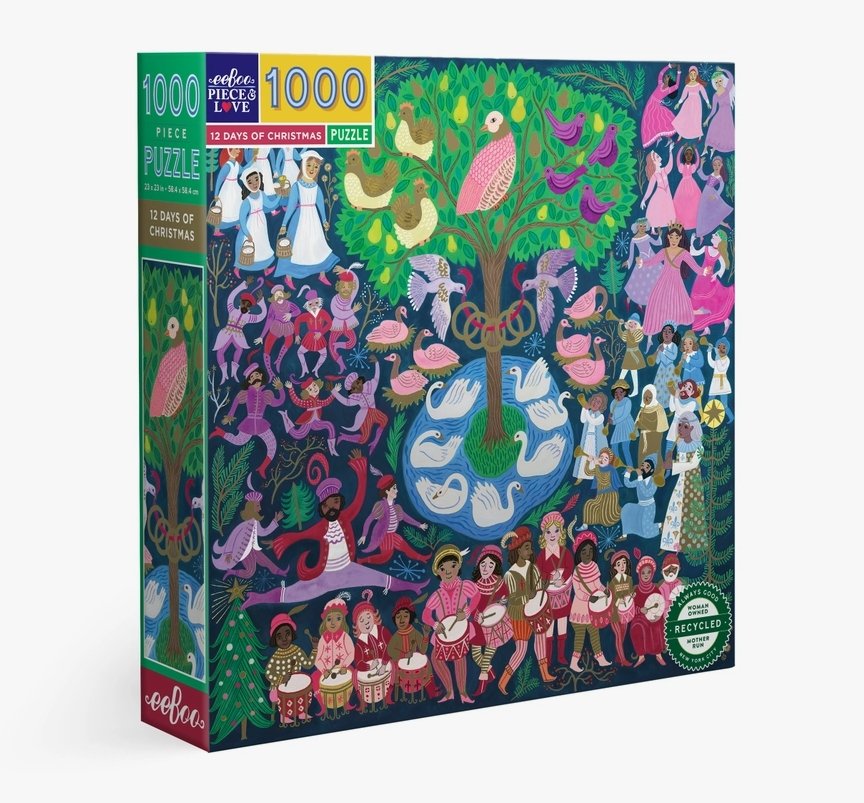
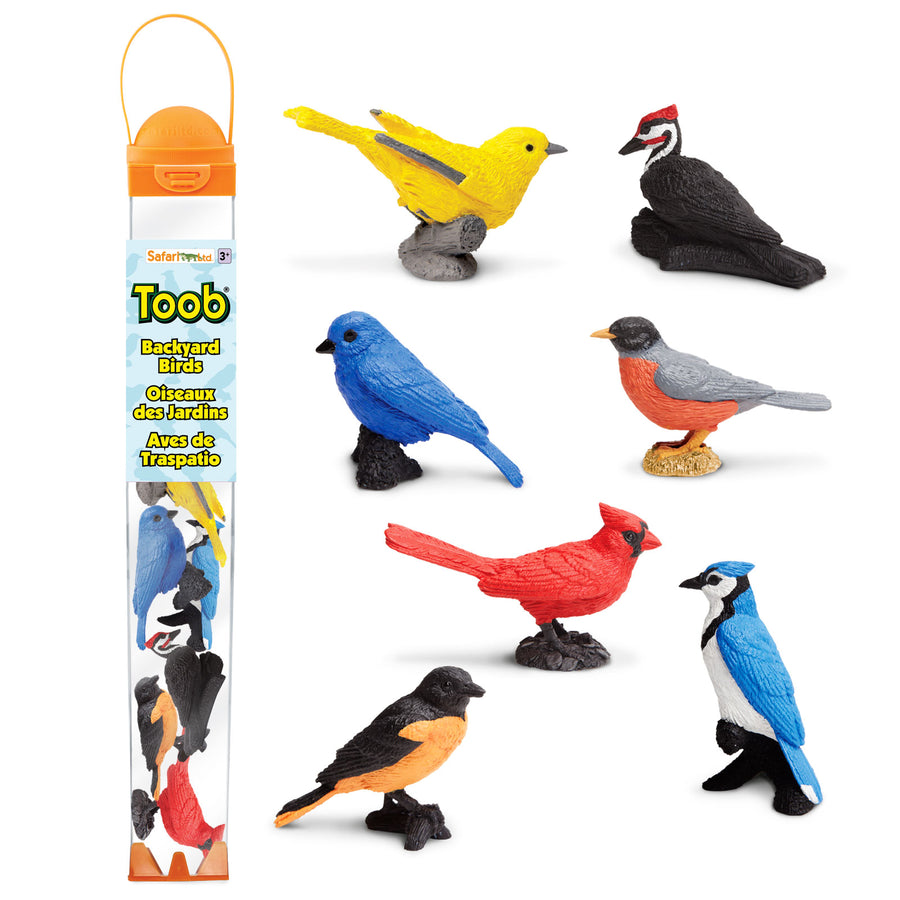
- Add accessories to your puzzle. Pair a jungle-themed puzzle with animal figurines from the TOOBS collection. You can create an engaging corner in your child’s playroom that sparks curiosity and storytelling.


Framed Puzzles Are Meaningful Decor
By now you’ve probably realized that framing a puzzle can be an enjoyable and rewarding activity by yourself or with your child. It preserves your family’s efforts while creating decor that’s more meaningful than generic wall art.
Puzzle framing is a great way to transform a simple task into a lasting memory. Parents can involve their kids and teach them about creativity, patience, and teamwork – all while preserving something they’ve built together.
When you’re planning your next family project, make sure you take a look at the educational toys, and collectibles to pair with your puzzle. Safari Ltd. has all kinds of unique items that inspire learning and creativity. Check out their collections to find something you’ve never thought about – including a huge selection of puzzles for all age ranges.


